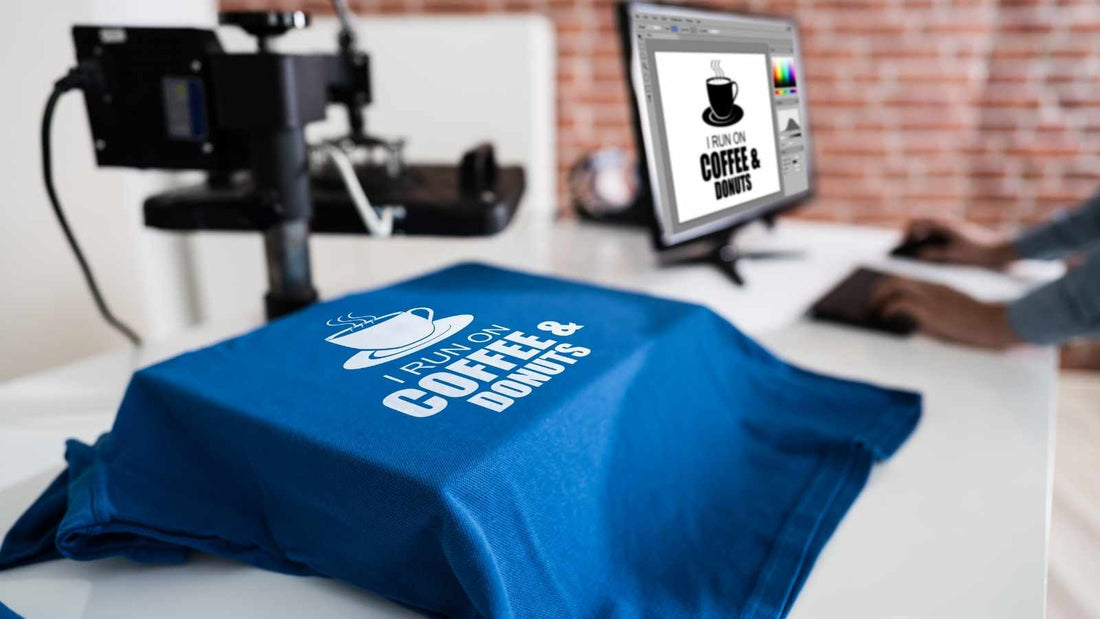
How To Apply DTF Transfers To Shirts ?

Customizing clothing with Direct to Film (DTF) transfers has become an innovative approach. This technique allows individuals to imprint intricate designs onto shirts with precision. Initially, one must secure the DTF transfers, which can be produced in-house or sourced from reputable vendors. Subsequently, the garment is prepped for the application process. The crucial step involves aligning the transfer accurately on the fabric. Following this, a heat press is employed to adhere the design onto the shirt. The process concludes with the peeling of the transfer, which can be executed either hot or cold.
Assembling Your DTF Transfer Toolkit
In preparing to apply DTF transfers to shirts, one must meticulously gather the necessary tools. Initially, a heat press stands out as indispensable for professional outcomes; however, for hobbyists or those on a budget, an iron can serve as a practical substitute. Specifically, ensure the iron offers adjustable temperature settings for versatility. Next on the list is a DTF transfer, the core material responsible for the vibrant designs transferred onto fabric. Additionally, a cutting mat is crucial for precise preparation of the transfer designs. It provides a stable base, ensuring accuracy during the cutting phase. Equally important is a weeding tool, designed to remove excess material from the DTF transfers with precision and ease. Lastly, while optional, a Teflon sheet is recommended for protecting the transfer during the heat application process. This sheet acts as a barrier, preventing any direct contact between the heat source and the transfer.
- Heat press (or iron as an alternative)
- DTF transfer
- Cutting mat
- Weeding tool
- Teflon sheet (optional)
Each item plays a pivotal role in the successful application of DTF transfers, ensuring the creation of high-quality, durable designs on shirts.
Shirt Preparation for DTF Transfer Application
Ensuring the success of DTF (Direct to Film) transfers on shirts requires attention to fabric compatibility. Initially, recognizing the material of the shirt is crucial. Cotton and polyester blends offer distinct outcomes, hence, selecting the appropriate fabric enhances the transfer's durability and appearance. Furthermore, pre-washing the garment is an essential step. This process removes any impurities that might interfere with the transfer's adhesion. Notably, it is vital to avoid using fabric softeners during pre-washing, as they can create a barrier that prevents the transfer from sticking properly.
Moreover, drying the shirt thoroughly prepares it for the next phase. A completely dry and warm garment ensures a better bond between the transfer and the fabric. Additionally, ironing out any wrinkles contributes to a smoother application. A flat and smooth surface allows the transfer to adhere evenly, eliminating the risk of imperfections. By following these preparatory steps diligently, one can achieve a flawless DTF transfer application, resulting in a professionally finished product.
Preparing Your Transfer for Application
In preparation for applying a DTF transfer to a shirt, mirroring the design is a crucial step. This process ensures that the image appears correctly oriented once transferred. Initially, one must carefully select the design's position on the garment. Ideally, centering the image a few inches below the neckline provides a visually appealing placement. Moreover, employing a Teflon sheet offers an added layer of protection during the heat press process. This optional step helps prevent direct contact between the heat press and the transfer, safeguarding the fabric and the design's integrity.
- Ensure the design is mirrored before printing to maintain correct orientation.
- Position the transfer strategically on the shirt for an aesthetically pleasing result.
- Use a Teflon sheet for protection against excessive heat, although this is optional.
Consequently, these steps facilitate a successful DTF transfer application, resulting in a high-quality finish on the shirt.
Guidelines for Maintaining DTF Transfers
Caring for garments adorned with Direct to Film (DTF) transfers is crucial for preserving their appearance and longevity. Initially, it's essential to wait at least 24 hours before washing the item. This ensures the adhesive fully bonds to the fabric. Moreover, turning the garment inside out before placing it in the washer protects the transfer. Washing should be done in cold water on a gentle cycle, further safeguarding the design's integrity. Additionally, avoid using bleach or harsh detergents as these can degrade the transfer.
- For drying, opt for air drying or use a low heat setting on the dryer.
- Ironing the garment should be done with care; always iron it inside out to prevent direct heat on the transfer.
Adhering to these instructions significantly enhances the transfer's durability, typically ensuring it lasts for 30 to 50 washes. Consequently, the garment maintains its vibrant design, reflecting well on both the material and the workmanship involved. Proper care ensures these transfers remain a durable and attractive choice for personalized apparel.

