Membership Discounts Are Applied Automatically at Checkout
Unlock 30% of Pricing Production
BLACK FRIDAY AT DTF GHOST
Use Code: BLACKGHOST30
Use Code: BLACKGHOST30
✦ PRINT MORE. CREATE MORE.
Use Code: BLACKGHOST30
Use Code: BLACKGHOST30
Turn a finished UV DTF layout into a repeatable decal run. Upload your print-ready 22-inch-wide sheet and choose the length that matches the file. UV DTF sheets start at $19.80 and carry vivid color and a raised-gloss finish. Use the same approved layout when you need to restock decals for suitable smooth hard surfaces.
Raised 3D Gloss
A finish you can see and feel
Peel & Stick
Apply by hand without a heat press
Print-Ready Upload
Use the layout you already made
Repeat Decal Runs
Save and reuse your approved file
Upload one finished file sized to 22 inches wide and your chosen sheet length.
Want same day ship out? Be quick!
Keep your finished decal layout and send it straight to printing. DTF Ghost UV DTF Gang Sheet Upload produces full-color adhesive transfers from your approved 22-inch-wide artwork, starting at $19.80. A practical choice for resellers, product-label programs and businesses that prepare their decal files in advance.
Preserve the sizes, spacing and repeat quantities you established in your design software. Your sheet is printed with vivid UV-cured color, white ink and glossy varnish, creating crisp decals with a raised 3D appearance that apply without a heat press.
Separate the finished sheet into individual decals as needed, and test the actual surface and coating before a full batch. Need to arrange your designs online first? Use the UV DTF Gang Sheet Builder.


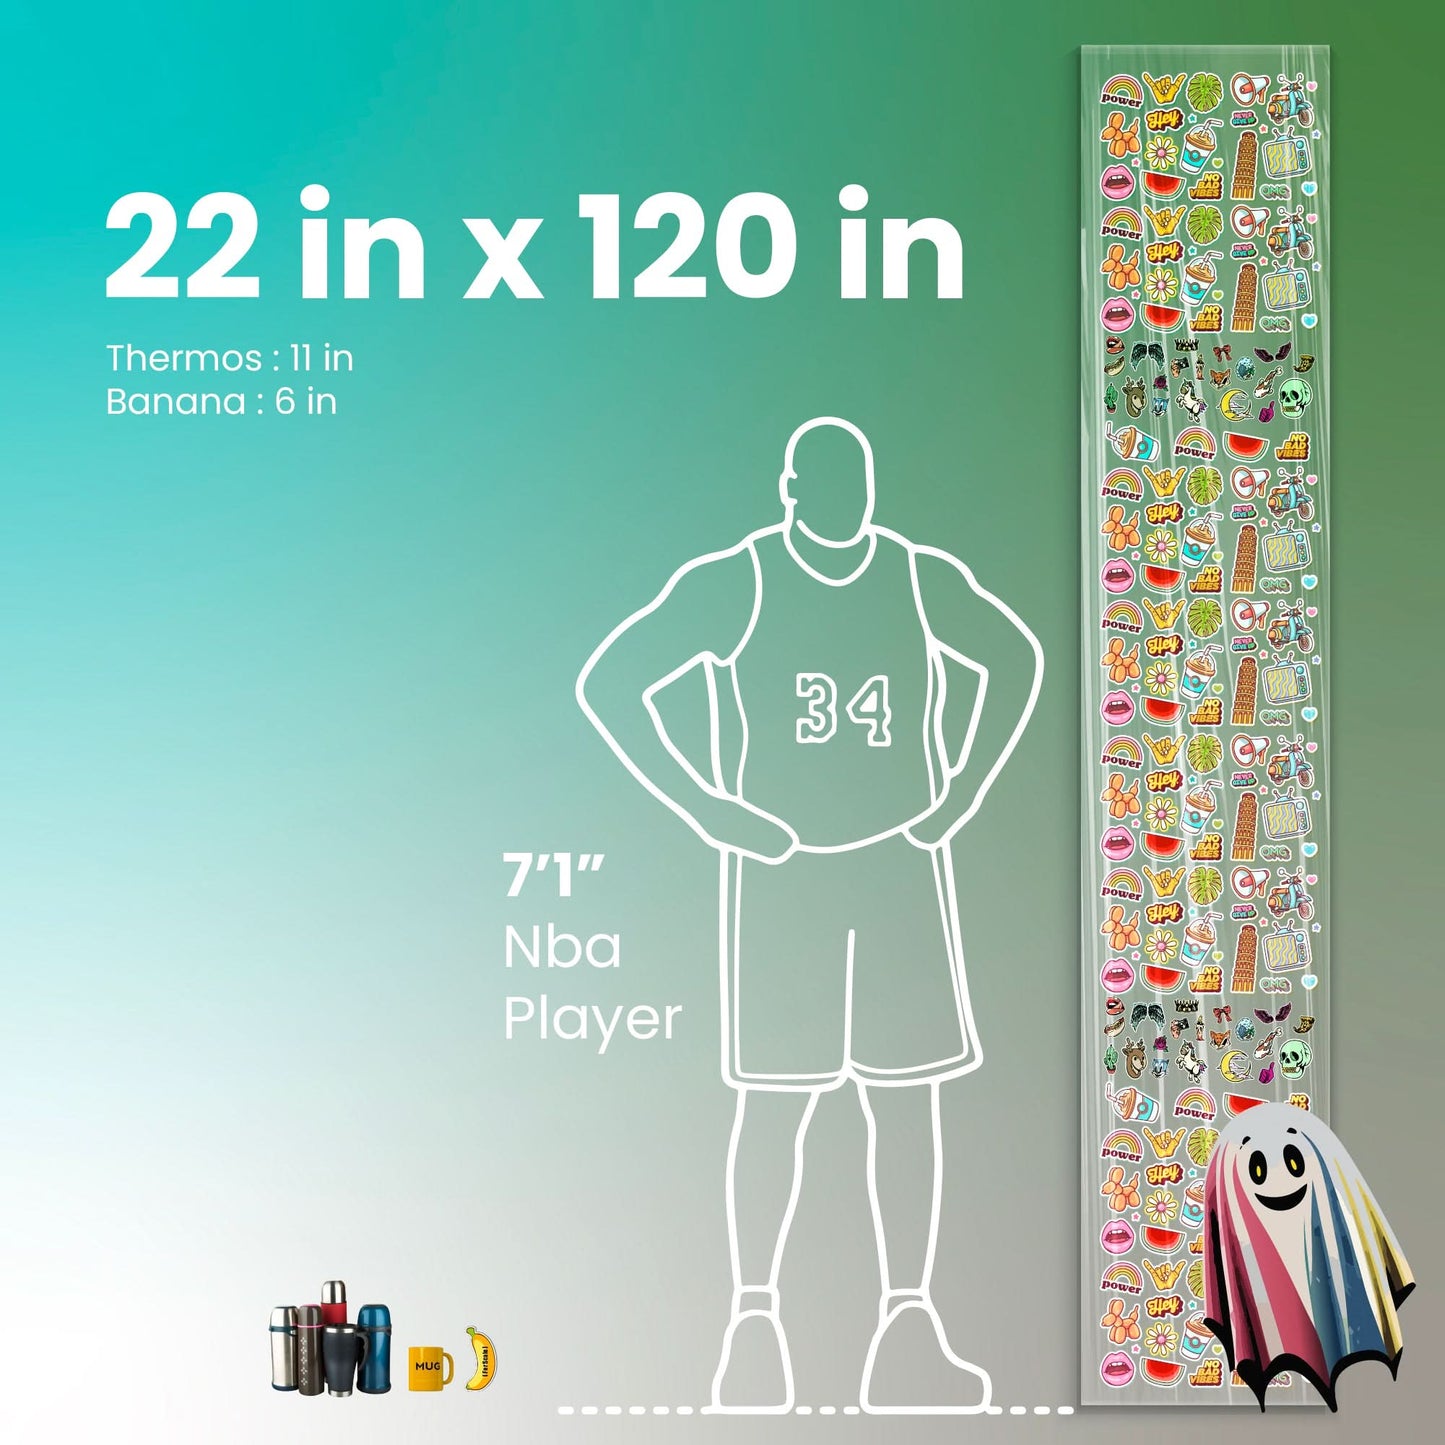
Check your export at its finished dimensions, then select the matching sheet length and upload the complete file.
Use a 22-inch-wide canvas and set its height to the length you’ll order.
Open the export and inspect transparency and fine lettering at actual size. Check that every decal can be separated.
Upload the full file to that sheet size, then compare its orientation and edges with the source.
Check the preview and choose how many prints of the complete layout you want.
DTF Ghost combines print quality, clear ordering, and access to real help when a job needs it.
Upload a complete sheet with sizes and spacing already set. Get raised-gloss, full-color decals without rebuilding your production file.
Full-color UV-cured ink and gloss varnish give logos and labels a raised finish. Reuse the approved file when the same decal assortment needs restocking.
Separate the decals and apply by hand to suitable glass, acrylic, metal or other smooth rigid surfaces. Test specialty coatings before running a full batch.
Ask our team about artwork, compatible surfaces, or application before ordering. If a shipment arrives damaged or incorrect, use the DTF Ghost Help Center to report the issue with your order details.

Review the exported layout at the dimensions you are ordering.
Use a 22-inch-wide artboard and set its height to the selected length. Reopen the print-ready UV DTF file and check its physical dimensions, orientation and sheet edges.
For raster artwork, target 300 DPI at finished decal size. Check fine type and isolated shapes at actual size. Retain transparent gaps and verify intentional white elements after exporting.
Leave room to cut around each decal with its liner still on. Confirm the preview has no unintended gaps, rotations or clipping, then verify the full-sheet copy count before checkout.
Trim the decals apart while the backing is on. Test one of the smallest details on the intended surface first.

Remove dust, oil and residue. Let the item dry completely and test the actual finish.
Cut around each decal before removing the backing. Check placement, then set one edge down and smooth across the surface.
Use a squeegee or smooth card to apply firm, even pressure through the carrier from the center outward. Check fine lettering and edges.
Pull the clear carrier back slowly. If a detail lifts, return the carrier over that spot and burnish again.
Follow the bonding time on your instruction card before washing. Use mild soap and a soft cloth, and avoid soaking, abrasives and dishwasher cycles. Place decals on the exterior of drinkware away from the rim.


Choose by the artwork you have ready, the finished decal size and the number of designs you need.
Easy exact-size ordering for one peel-and-stick decal. Size one design to the usable area on a tumbler, bottle or acrylic display.
View optionMix decal artwork and quantities online. Place repeat logos, different names and size variations on one 22-inch sheet.
View optionSend a finished decal layout directly to production. Keep the sizes and spacing from your own design software and reuse the file for restocks.
Current optionProduction files, decal spacing, surface preparation and reorders.
Upload a single 22-inch-wide layout with each decal at its finished size and copy count. Match the canvas height to the sheet length you select. Check the upload preview for unwanted backgrounds and clipped graphics.
Keep clear gaps around isolated artwork and check for an unwanted white background or hidden layers. Leave enough space to trim around each decal before applying it.
Choose the matching 5 ft option and upload the full layout. Check the preview to confirm that the whole 22 × 60 inch canvas appears at the intended orientation.
Yes. Inspect small lettering and fine outlines at final size and leave enough film around each decal to cut it free. Test the smallest decal on the actual surface before using a full batch.
Save the approved export, finished sheet length and copy count together. Keep the intended surface or coating with the job notes so you can repeat the same application and finish.
A transparent PNG at the final sheet dimensions is a practical export. Open the exported file before uploading and check that the gaps around the decals remain transparent.
Inspect the smallest text at final size and check that thin strokes and isolated details are easy to see. Leave enough space to trim around each decal. A small sample on the actual surface helps check adhesion before a full run.
Finish the placement and copy counts in your source file before uploading the sheet. To move individual graphics and adjust quantities online, use the UV DTF Gang Sheet Builder.
Keep the exact approved export and sheet length. Check the version, quantity and preview when you place the new order.
Start with clean, dry glass, acrylic, smooth metal or glazed ceramic. Test coated, textured or flexible materials on a spare item before a batch. For drinkware, place decals on the exterior, away from the rim.
Lay the carrier back over that area, burnish firmly, then peel again slowly at a low angle. Try this on a sample before applying a full run.
Hand-wash with mild soap and a soft cloth after the bonding interval on the instruction card. Avoid soaking, abrasives and dishwasher cycles.
No heat press is needed. Trim between decals, clean and dry the surface, then rub each transfer down by hand before lifting the carrier.
Production and transit are separate. UPS Express transit is generally 1–3 business days after dispatch. Check the estimate for your address and the shipping policy.
Contact us as soon as you spot the issue and include your order number. We can review changes before printing starts. Once production begins, the order cannot normally be canceled. See the Help Center.
Report the issue within seven days of delivery. Send your order number, a brief description, and photos of the prints and packaging. See the refund policy for the exceptions to returns on custom prints and how replacements or store credit are handled.
Store your final file with the sheet length and revision so the next run uses the same decal sizes and spacing.
Get help with ordering


